Hex stickers remind me of Pogs, except they’re cooler because you can combine them together! Some people do that very smartly.
Now when I forget how to do an #rstats analysis I can just check the back of my laptop #runconf16 pic.twitter.com/DY7UgeBzYV
— David Robinson (@drob) 1 d’abril de 2016
I’ve got a pretty random hex stickers combination on my laptop, but after all it could be worse…
My boyfriend decided he is post-hex / post-#tidyverse pic.twitter.com/ADtyORMxHL
— Hilary Parker (@hspter) 13 de setembre de 2017
Now since I’m a magick/collage fan, you can bet I’ve wondered how to use R in order to combine stickers automatically! Say I have a bunch of sticker PNGs, how could I produce a map to design my laptop style? Read to find out more…
Getting some hex stickers to play with
I do agree that in real life you’ll most often not have PNGs of the stickers but hey I can dream… especially since I’m sure that one will soon be able to identify stickers on a conference haul pic in the blink of an eye with the Rvision package. I got stickers from hex.bin whose existence I learnt from this tweet:
A plea to my favorite #rstats 📦 developers: please submit your BIG hex sticker image files (with vector versions 🙏) to https://t.co/7KWg3d2fZA! @old_man_chester @nj_tierney @samfirke they will be right at home 👇 pic.twitter.com/AIqgnBIx1X
— Alison Hill (@apreshill) 21 de febrer de 2018
And well if more R packages are added to it my Rvision dream could come true.
Note: When I say I got them from hex.bin, I mean I lazily downloaded the “hexagons/” folder of this GitHub repository by using a link as explained in this SO answer.
Combining a few of them at random
I’ll sample 42 stickers from my nice little internet haul.
library("magrittr")
set.seed(42)
ultimate_sample <- fs::dir_ls("hexagons") %>%
  sample(size = 42)
After that I’ll create rows which is pretty straightforward.
no_row <- 6
no_col <- 7

row_paths <- split(ultimate_sample, rep(1:no_col, each = no_row))

# let's be crazy

read_append <- . %>%
  magick::image_read() %>%
  magick::image_append()

rows <- purrr::map(row_paths, read_append)
Now rows have to be combined together, not just stacked, with a small shift. This will depend on the size of pics. They seem to be the same size which is great. Note that the thing that gets displayed below is what magick::image_info gives you about any magick object, so I’ll use that.
magick::image_read(ultimate_sample[1:10])
info <- magick::image_read(ultimate_sample[1]) %>%
  magick::image_info()
height <- info$height
width <- info$width
The col parameter below is my laptop background hex code. I needed it before pasting the hex stickers.
my_laptop <- magick::image_blank(width = width * no_col,
                    height = height * no_row * 0.9,
                    col = "#FF6987")

for(i in 1:no_row){
  if(i/2 == floor(i/2)){
    offset1 <- 0
  }else{
    offset1 <- (width/2)
  }

  offset2 <- (i-1)*(height*0.75)

  my_laptop <- magick::image_composite(my_laptop, rows[[i]],
                                       offset = paste0("+", offset1,
                                                       "+", offset2))
}

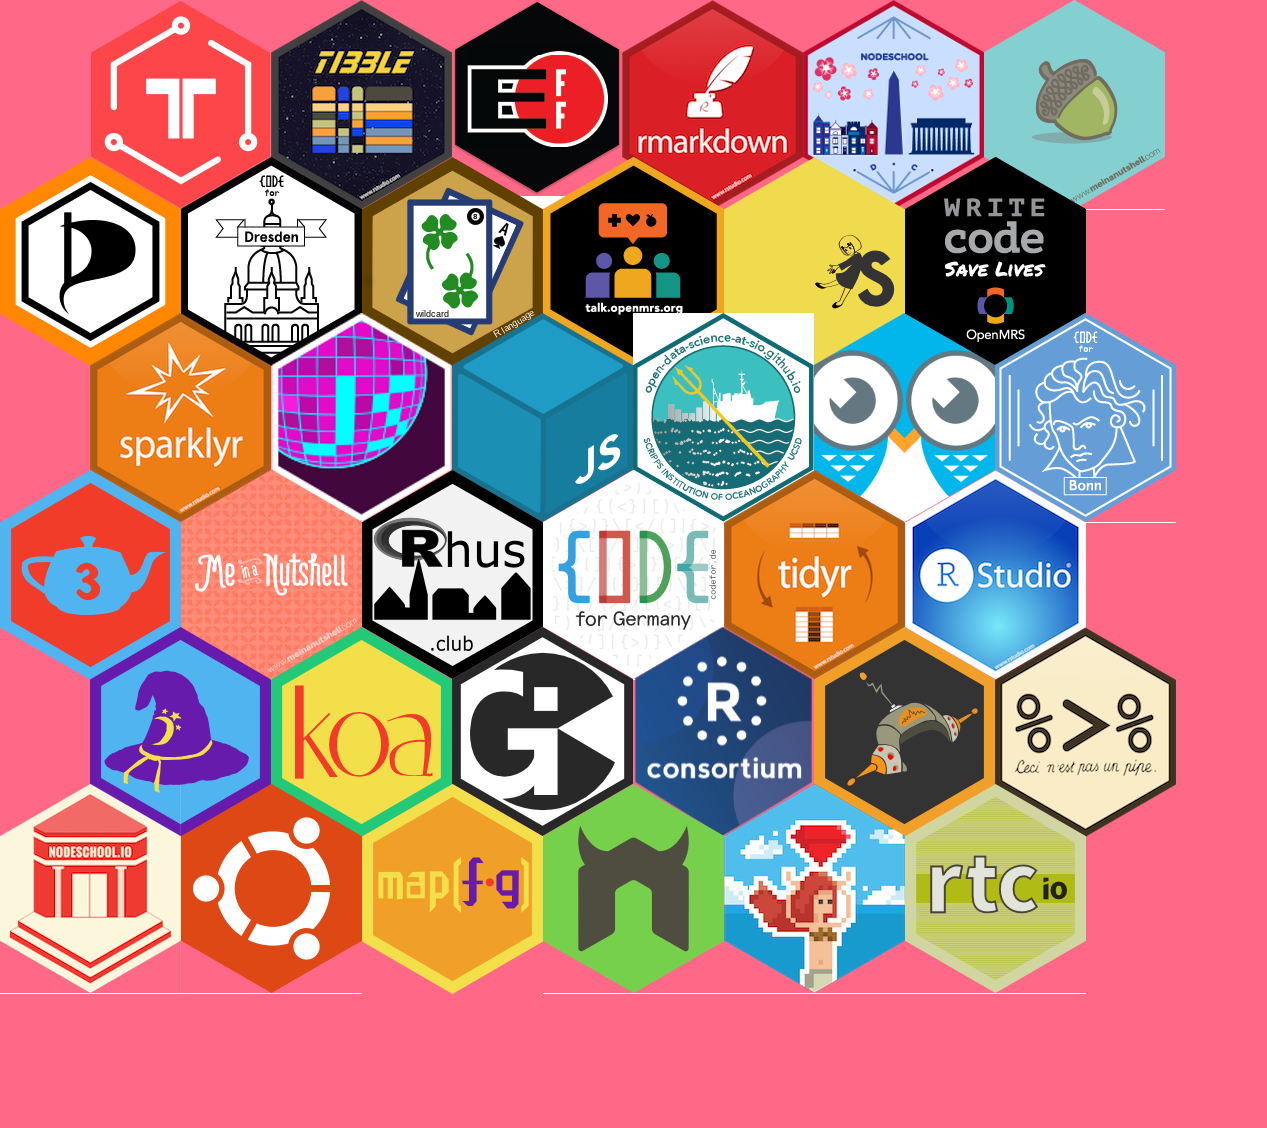
magick::image_write(my_laptop, "data/my_laptop.png")

This looks fine, the only reason why it’s not perfect is probably the stickers not having exactly the same dimensions. Moreover, one of them doesn’t have transparent borders! That’s a mean design. Jeroen Ooms told me I could correct it by smartly using image_fill with color = “transparent” and some fuzz and image_trim before that to remove margins but I was lazy.
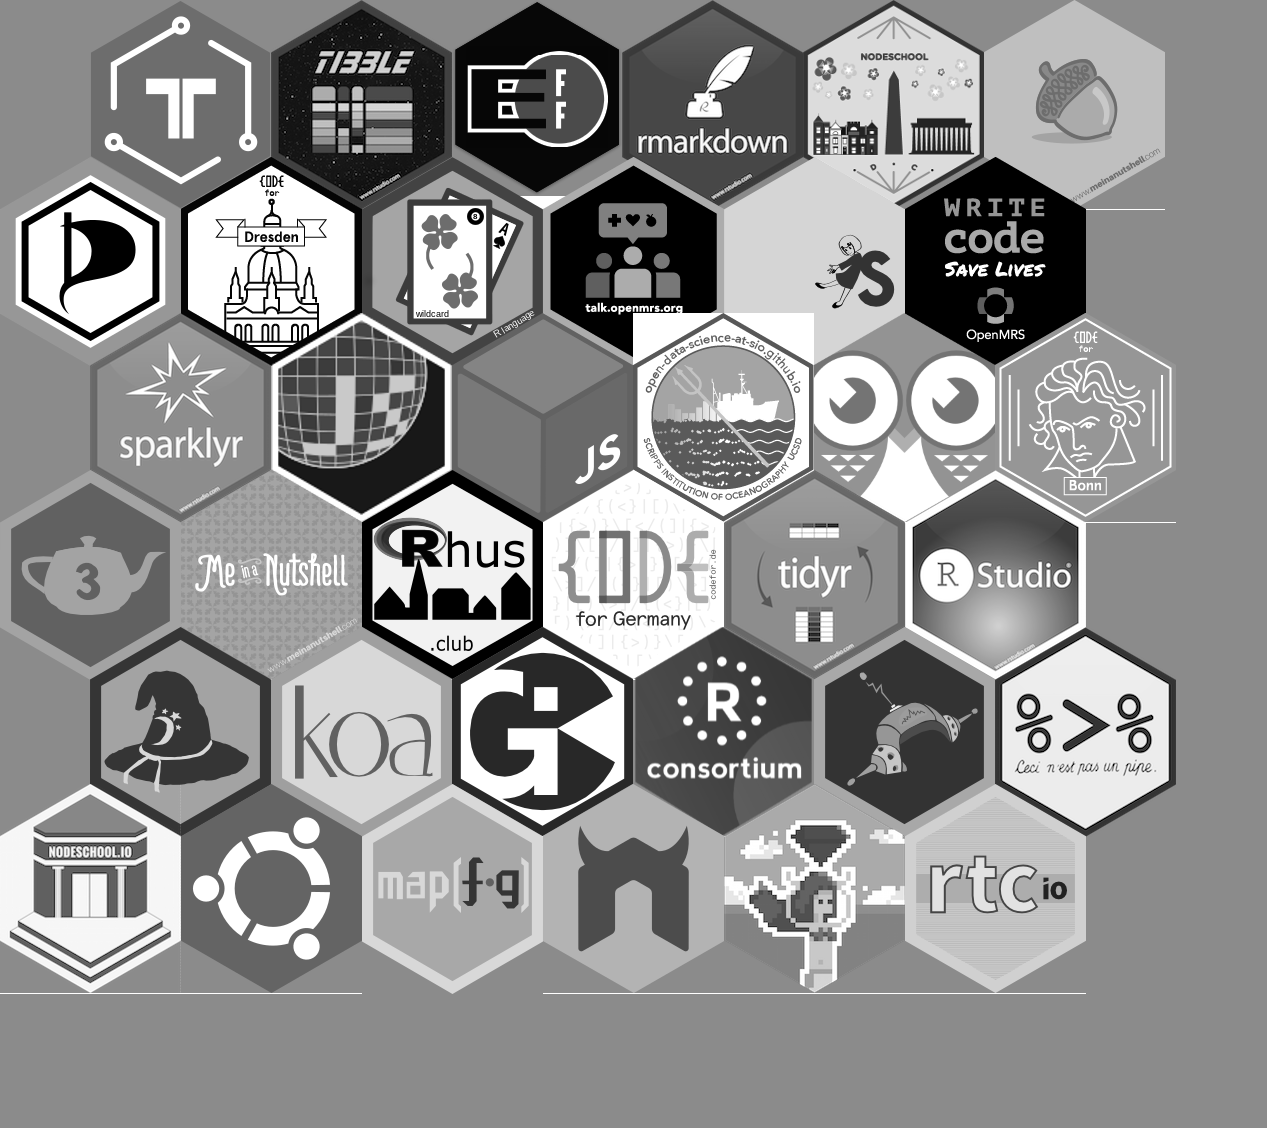
Now, what could one do? One could order hex stickers by color using the code in my blog post about rainbowing a set of pictures. Or one could just combine all hex stickers together, then make them gray and use the resulting image as a place to collect stickers. #goals
magick::image_convert(my_laptop, colorspace = "Gray") %>%
  magick::image_write("data/my_laptop_goals.png")
